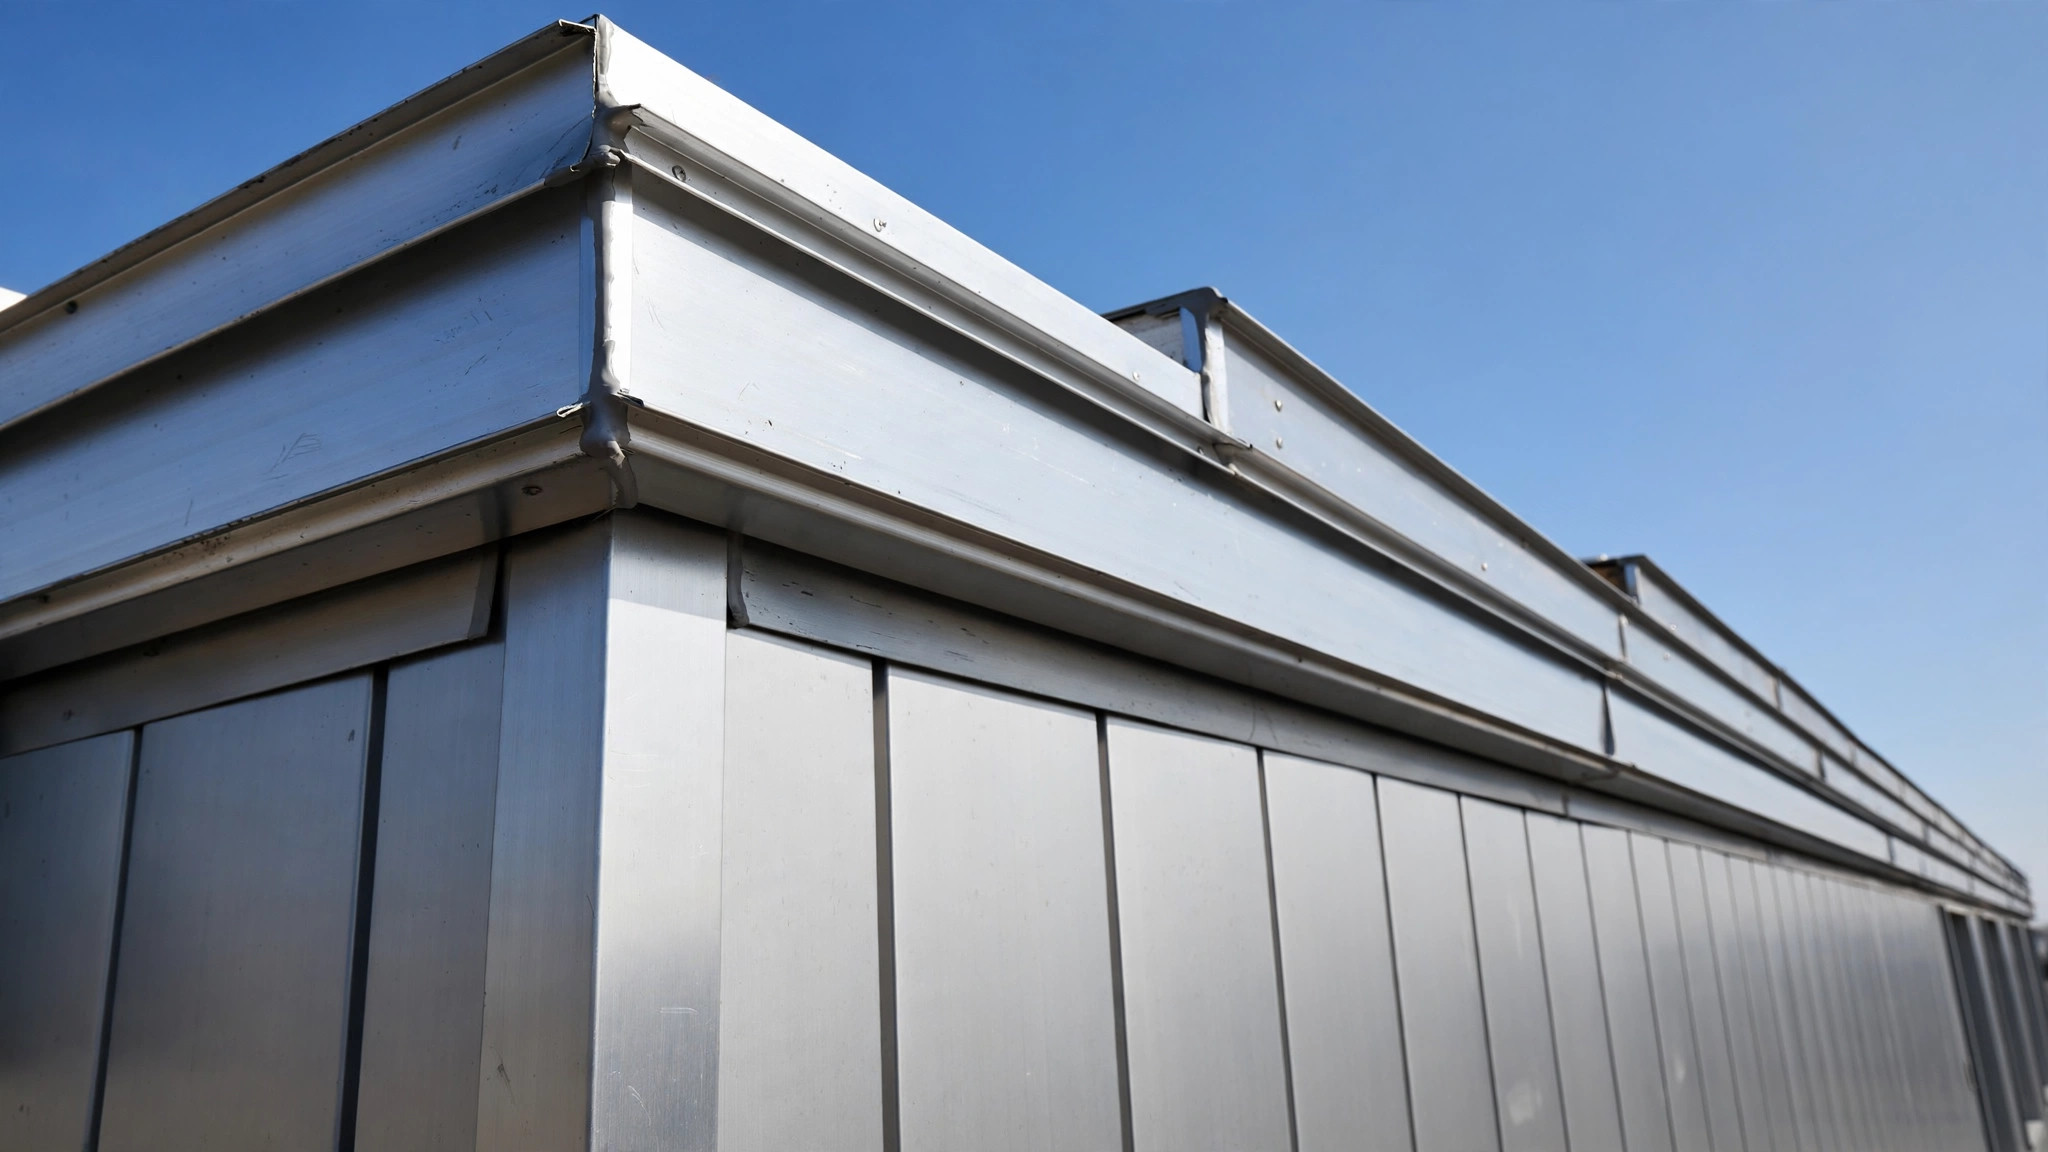
Every facade leak investigation ends the same way: the water did not come through the wall panels. It came over the top. Parapet coping — the metal cap covering the top of a parapet wall — and fascia, the vertical aluminum cladding dressing the roof edge, decide whether a building’s crown stays watertight for decades or starts staining the facade in the first rainy season. For architects, contractors, and US buyers, these are not trim pieces; they are the most failure-prone linear meters of the envelope. This guide explains how aluminum coping and fascia systems work, which details make them watertight, and what to specify before ordering.
What Parapet Coping and Fascia Actually Do
A parapet extends past the roofline, and its flat top collects rain, snowmelt, and wind-driven water. Coping caps that shelf: it sheds water to both faces, breaks the capillary path under the metal, and protects the wall core from saturation. Fascia sits just below, running vertically along the roof edge — covering the slab edge, terminating the top of a rainscreen cladding field, and giving the building its finished silhouette, often in a brand color or contrast tone.
Aluminum is the natural material for both: it forms into long, crisp profiles, it will not rust, and it can be finished in the same PVDF or powder coating as the facade panels below, so coping, fascia, and wall read as one continuous surface. That color continuity is why specifiers usually order coping and fascia from the same panel manufacturer.
Coping Profiles and How They Stay on the Wall
Most commercial projects use one of three coping families.
Cap coping with a continuous cleat
The workhorse detail: a continuous aluminum cleat is screwed to the parapet top, and the coping profile hooks over it on both faces — resisting wind uplift while allowing thermal movement. The default for exposed, high-wind roof edges.
Snap-on coping
A spring-tensioned cover over a receiver channel: faster to install and easy to remove for roof membrane work, but best for lower exposures and shorter runs.
Standing-seam coping
Formed with raised seams across the wall, echoing a standing-seam roof; it handles thermal movement gracefully and suits high-end projects.
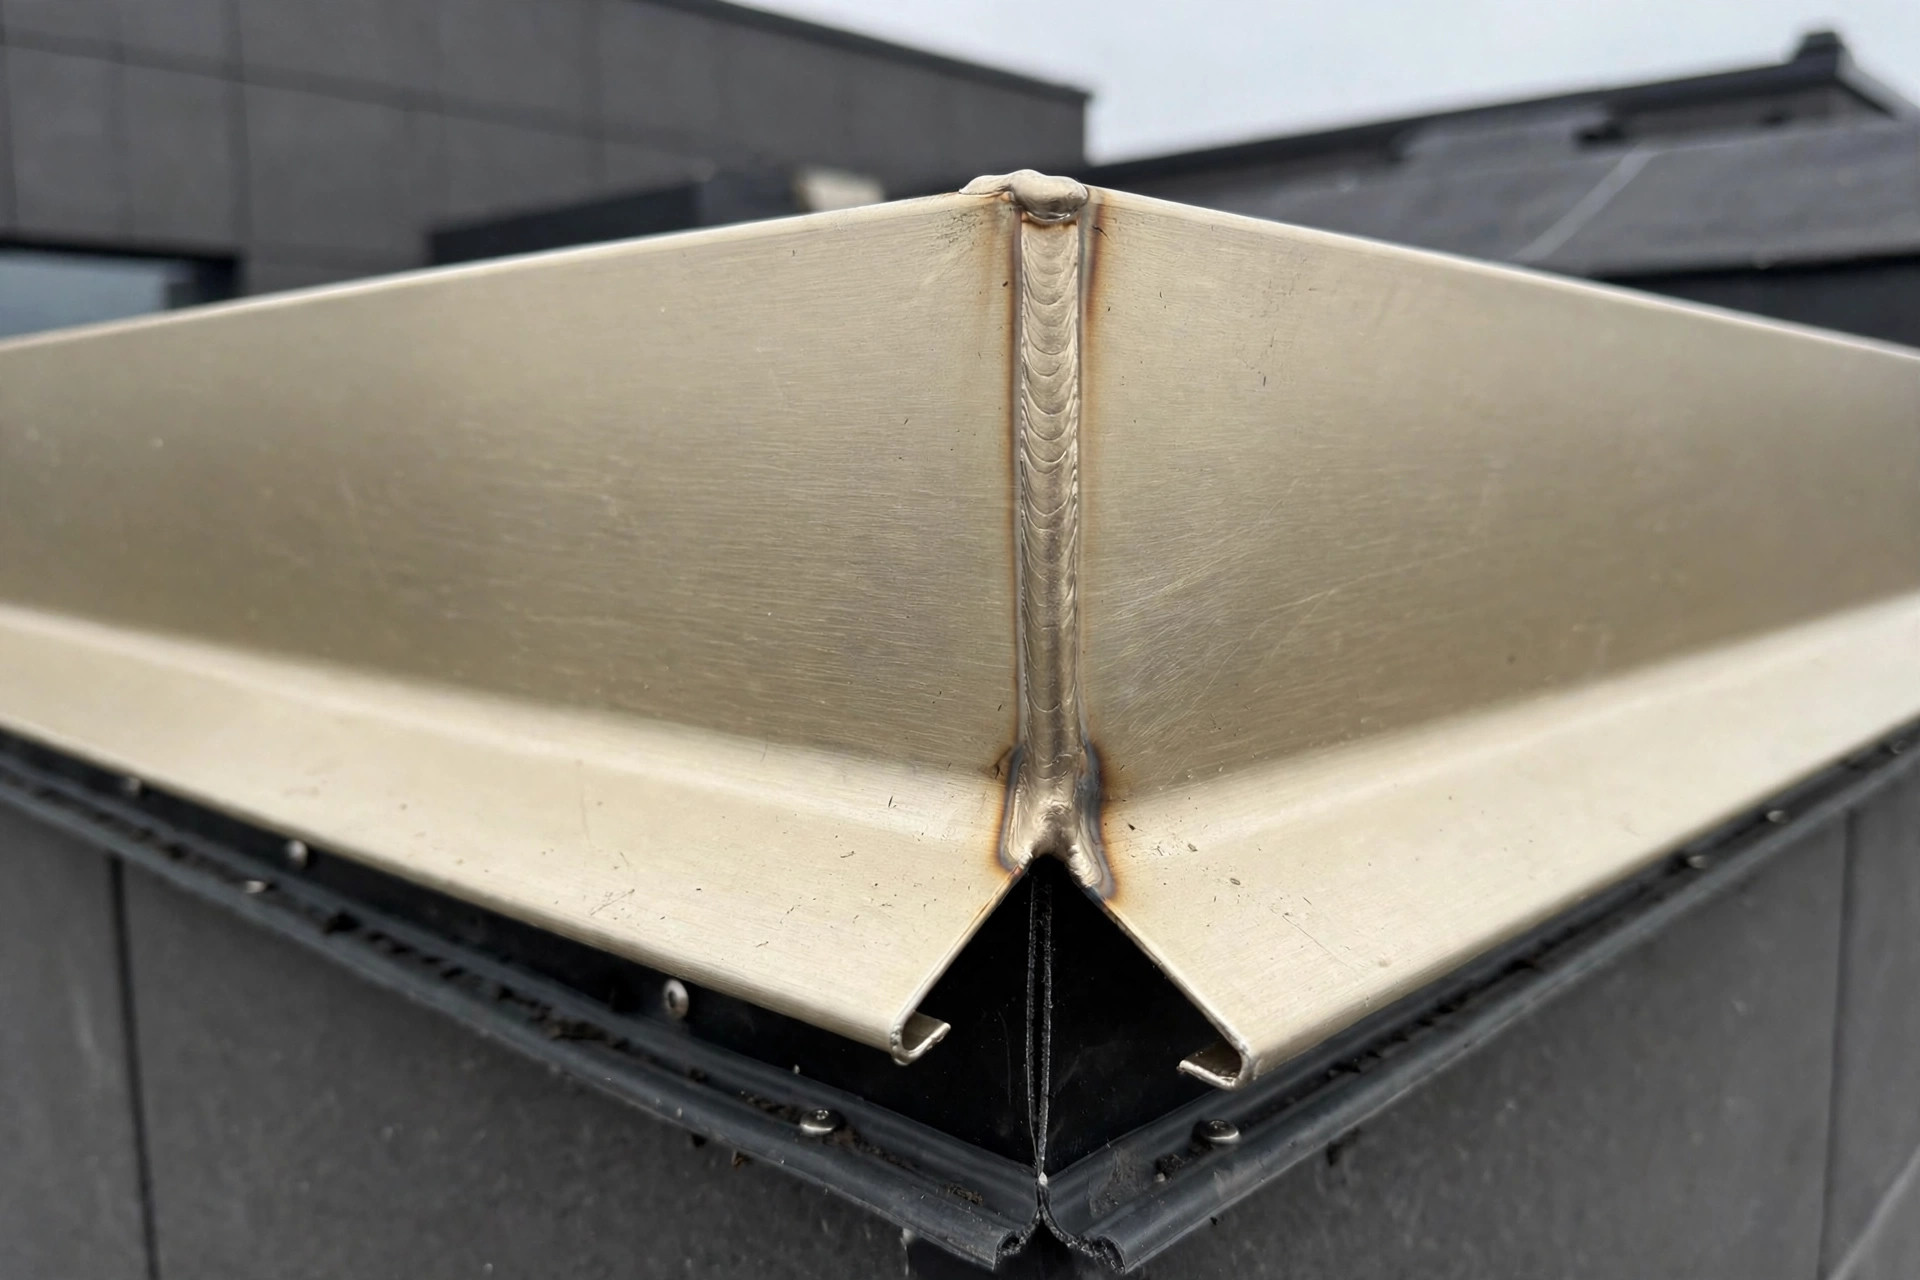
Whichever profile you choose, three rules apply. The coping top must slope — flat coping ponds water and leaks at every joint. Both outer edges need a drip: a downturned leg with a notch or hem that forces water to fall clear of the wall face. And corners must be mitered and welded, or factory-formed — a corner held together by field caulk alone is a leak scheduled for next spring.
Material and Finish Choices for Coping and Fascia
Coping lives in the harshest microclimate on the building — full sun, full rain, freeze-thaw — so this is not the place to economize. Solid aluminum in 2.0, 2.5, or 3.0 mm thickness, typically alloy 3003 in H24 temper, is the standard for formed coping and fascia. Heavier gauges hold a flat, oil-canning-free surface over longer spans and resist denting — important because coping installs last, when the site is busiest.
Finish should match the facade system. PVDF coating gives the best color retention for coping that bakes in the sun for decades; powder coating is a sound value option. Order coping, fascia, and wall panels finished in the same production run or coating batch when possible: coping catches raking light across its full length, so a batch-to-batch color shift invisible on a wall field becomes visible along a roofline. If same-batch finishing cannot be confirmed, request a full-length sample against the approved panel color before production.
The Watertight Details That Matter Most
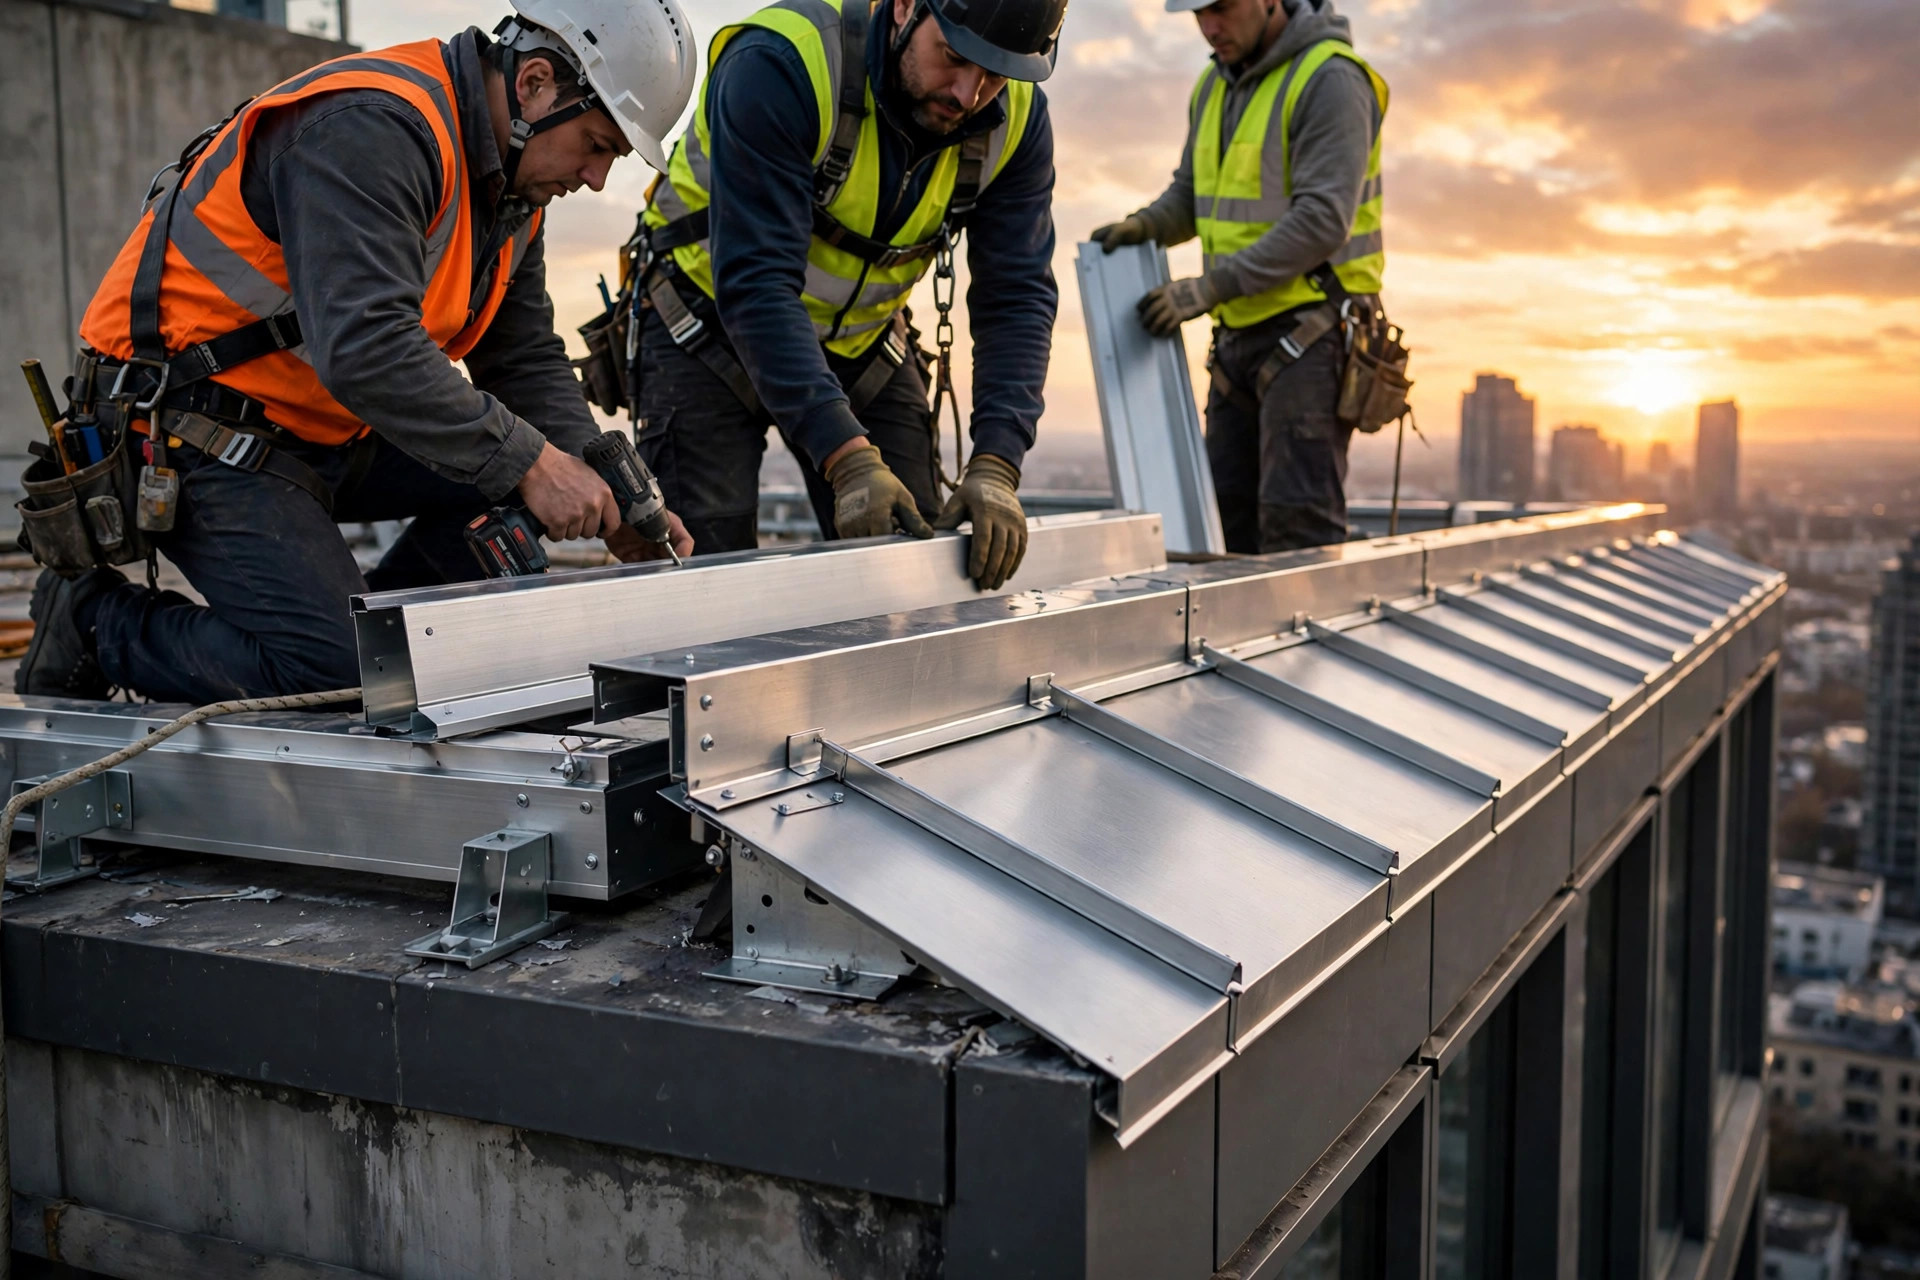
A watertight coping is a system of small decisions, each worth checking on a shop drawing.
- Continuous cleat, structural fastening: the cleat must fasten into solid backup — concrete, masonry, or structural framing — not just sheathing.
- Drip edges with a capillary break: the downturned leg should project past the wall face with a hem or notch that interrupts the water film, so water falls clear instead of tracking back under the coping.
- Splice plates at end joints: each butt joint should sit over a concealed splice plate with the joint sealed behind the face — not a surface caulk bead that will weather and split.
- Sealant as backup, never as primary: if a detail only works while the sealant is fresh, it is a maintenance item, not a waterproofing strategy.
- Room for movement: aluminum expands and contracts with temperature, so long coping runs need slip joints or expansion spacing — a coping locked rigidly at both ends will buckle.
- Scupper and overflow coordination: where roof drainage passes through the parapet, integrate the coping with scupper boxes and overflow weirs. Detail these penetrations on the drawings, not in the field.
Ask your supplier for a shop drawing showing the cleat, drip profile, joint treatment, and corner construction in section — if any of the four is missing, the detail is not finished.
Common Failure Modes and How Specifiers Prevent Them
Most coping failures fall into a short list, each with a specification-level fix. None of them require exotic materials — just details that are drawn, reviewed, and built as drawn.
- Wind uplift: coping peels from the leeward side when cleat engagement is shallow or fasteners miss structural backup. Confirm the profile was tested for wind resistance (ANSI/SPRI ES-1 is the US roof edge benchmark) and the cleat is continuous, not intermittent clips.
- Standing water: a dead-flat coping top ponds water at joints. Specify a sloped profile and verify the parapet top is level before the coping ships.
- Capillary draw at flat laps: flat lapped surfaces wick water uphill. Drip notches and offset lap geometry defeat this.
- Galvanic corrosion: aluminum coping with incompatible steel screws, or in contact with copper flashing, corrodes at the contact points. Specify stainless or aluminum-compatible fasteners and isolate dissimilar metals.
- Incompatible sealants: some sealants lose adhesion on PVDF. Confirm sealant compatibility with the finish supplier before the coping leaves the factory.
None of these require exotic materials — they require the details above to be drawn, reviewed, and built as drawn. Get the coping right, and the most exposed detail on the building becomes the most reliable one.
What to Specify When You Order Coping and Fascia
Send the profile section drawing with dimensions, the material specification (thickness, alloy and temper), the finish system and color number with gloss level, and the linear footage broken down by straight runs, outside corners, inside corners, and end terminations. Request factory-formed mitered corners and a kit of cleats, splice plates, and fasteners — mixed-source accessories are a classic source of fit problems on site.
Before approving production, review the shop drawings for the four details that matter — cleat, drip, joints, corners — and request a physical corner sample in the specified finish. A corner sample is the cheapest quality check in the facade package: it proves the miter is welded, the finish is continuous around the bend, and the color matches the wall panels.
Ready to detail your roof edge? Send your drawings and profile requirements to juchangalu.com for a detailed quotation on aluminum coping, fascia, and matching facade panels.