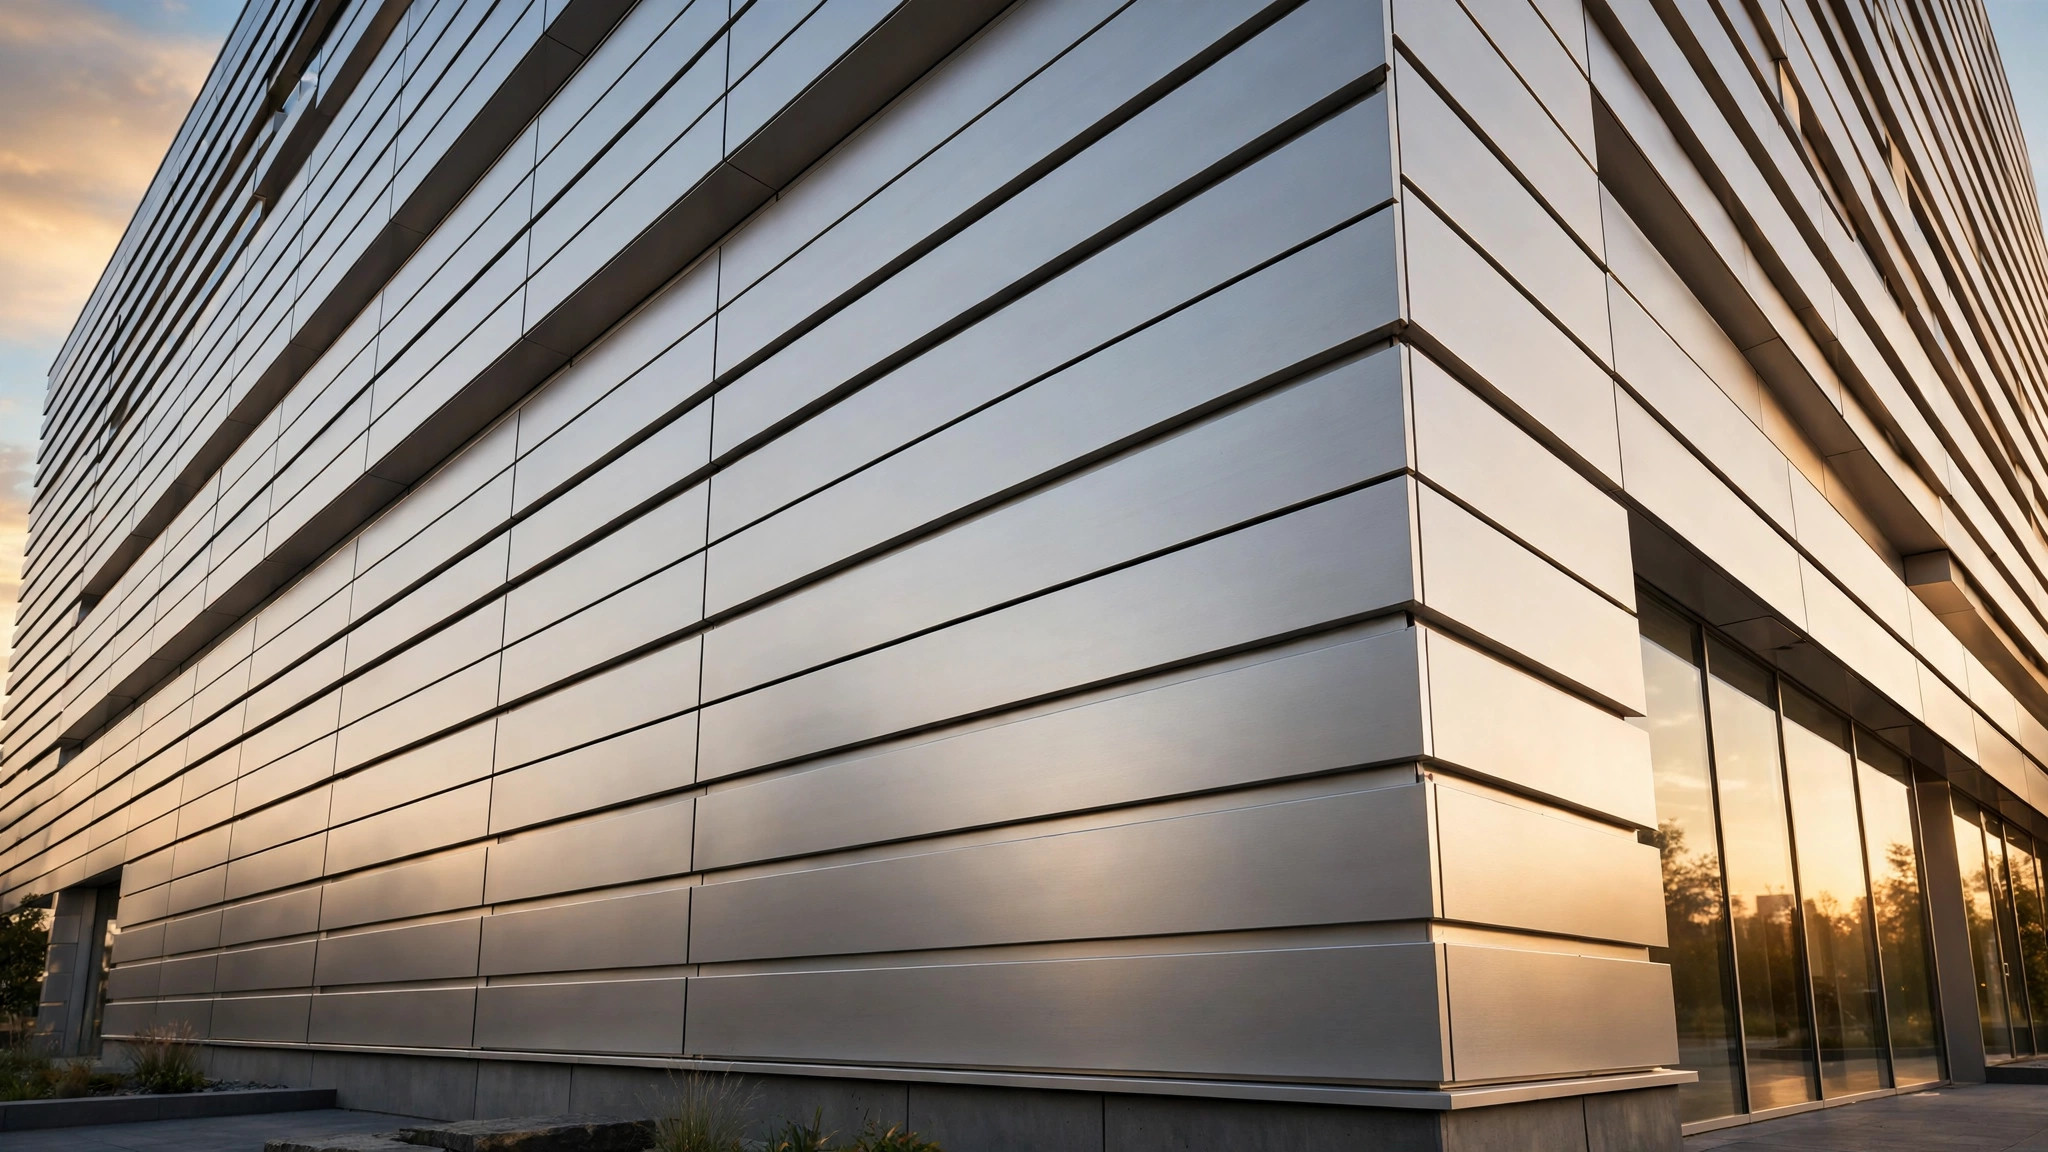
A beautiful façade design is only as good as its installation. Even the highest-quality aluminum façade panels will underperform if the mounting system, joint details, or on-site tolerances are mishandled. Whether you are an architect reviewing submittals, a contractor planning the crew’s work, or a distributor advising customers, understanding how solid aluminum panels go onto a building helps you specify the right product, avoid callbacks, and keep the project on schedule.
This guide walks through the two most common fixing systems for aluminum veneer panels, the joint details that make or break the finished look, and the on-site practices that protect both the panels and the project timeline.
1. Understanding the Two Main Fixing Systems
Most commercial installations of solid aluminum façade panels use one of two systems: the cassette (tray) system or the wet-seal system. The choice affects panel geometry, lead times, and long-term maintenance — so it should be settled early, ideally before shop drawings are finalized.
Cassette (Tray) Panels
In a cassette system, each panel is folded at the edges (typically a 20–30 mm return) and stiffened with aluminum extrusions or flat-bar stiffeners riveted to the back. The panels hang on an aluminum subframe with hooks or screws, leaving an open shadow gap of 10–20 mm between adjacent panels.
Cassette systems dominate modern commercial work because they are clean to install, individual panels can be removed and replaced without disturbing their neighbors, and the shadow gaps create the crisp, monolithic look most architects want. They also accommodate thermal movement well, since each panel is fixed at discrete points with slotted holes.
Wet-Seal Panels
In a wet-seal system, flat or folded panels are fixed to the subframe with the joints filled with backer rod and weather-sealant. The sealant creates a continuous weatherproof skin and can visually slim down the joints — a look some designers prefer for smooth, flush façades.
The trade-off is maintenance: sealant joints have a service life shorter than the panel itself and must be inspected and renewed over time. Specifying a cassette system instead eliminates this maintenance item, which is one reason many contractors recommend it to owners planning for low lifecycle cost.
2. Sizing and Tolerances: Where Projects Go Wrong
Aluminum is easy to fabricate and easy to get wrong. The most common installation problems trace back to dimensions, not material quality.
- Panel size limits: Typical solid aluminum panels are supplied in thicknesses of 2.0, 2.5, or 3.0 mm, with a standard maximum sheet size of 1300 × 4000 mm (aluminum alloys such as 1001 or 3003-H24). Larger panels look impressive but flex more in wind and require heavier stiffening — discuss oversized modules with your fabricator before the design is locked in.
- Tolerance stacking: A 3 mm fabrication tolerance per panel sounds small until twenty panels in a row accumulate into a 60 mm misalignment at the corner. Insist on shop drawings that show cumulative tolerances, and require the fabricator to confirm overall bay dimensions before cutting.
- Flatness: Oil-canning (a visible waviness in the panel face) is usually a design issue, not a defect. Keeping panel widths within the fabricator’s recommendations, specifying adequate stiffeners, and choosing a slightly heavier gauge (2.5 mm instead of 2.0 mm for large modules) are the practical fixes.
3. Joint Details and Weatherproofing
The joints between panels are where the façade’s waterproofing, aesthetics, and durability meet. Three details deserve attention in every submittal review:
- Drainage and ventilation: Cassette systems are designed as drained and back-ventilated rainscreens. The subframe cavity must drain freely to the outside and ventilate upward. Never let installers block the cavity with insulation, sealant, or debris — trapped moisture behind panels is a slow-motion failure.
- Horizontal vs. vertical joints: Water sheds naturally off horizontal joints but is driven into vertical ones by wind. Many experienced installers lap horizontal overlaps downward and add a secondary drip detail, while keeping vertical joints as simple open gaps. Mirror this logic when reviewing shop drawings.
- Dissimilar metals: Aluminum panels must not sit in direct contact with galvanized steel or copper flashing without isolation, or galvanic corrosion will eat the panel edge. A simple neoprene or EPDM separator pad at every contact point is cheap insurance.
4. On-Site Best Practices During Installation
The factory finish — whether PVDF fluorocarbon coating, powder coating, or roller coating — is the panel’s armor, and most damage happens on site, not in transit. A few habits separate clean jobs from callback jobs:
- Keep the protective film on as long as possible. Remove it panel by panel only after each panel is fixed and aligned. Film left on for months in strong sun can become hard to strip, so agree on a removal window with the crew.
- Handle with clean gloves and soft slings. PVDF coatings are tough, but metal tools, chains, and dirty gloves leave marks that show in raking light. Lift panels by their stiffened edges, never by the folded returns alone.
- Cut on site as little as possible. Field cutting generates metal dust that embeds in adjacent finishes and voids most factory warranties on the cut edge. Route every non-standard size through the factory — it is cheaper than a re-make crew visit.
- Sequence from the bottom up. Like roofing, installing from the lowest row upward means each new panel overlaps and protects the finished work below, and scaffolding movements disturb finished panels less.
- Clean at handover, not later. Wash the façade with mild detergent and plenty of water before handing over, and document the condition. Construction dust, cement splatter, and welding spatter become exponentially harder to remove once they have weathered for months.
5. A Short Maintenance Routine That Pays Off
Solid aluminum façade panels are famously low-maintenance, but “low” is not “none”. A light routine extends the life of the finish and catches small issues before they grow:
- Annual visual check: walk the façade (or use a drone) looking for sealant failure at windows and penetrations, impact damage from landscaping or window-washing rigs, and any panel that has worked loose.
- Wash once or twice a year in polluted or coastal environments — mild detergent, soft brush, rinse thoroughly. Aggressive alkaline cleaners and pressure washers at close range are the two most common ways owners damage their own finish.
- Keep a few spare panels. Asking the factory for a small quantity of attic stock in the exact color batch is the cheapest way to guarantee that a future replacement matches. Coating batches drift slightly over time, and a panel ordered three years later may not be an invisible match.
Key Takeaways
Successful aluminum façade panel installation comes down to a handful of decisions: choose the cassette or wet-seal system early, respect size and tolerance limits in the shop drawings, detail the joints for drainage and metal isolation, protect the finish during installation, and plan for a light maintenance routine. Get these right and the façade will look sharp on handover day — and stay that way for decades.
Planning a façade project? Browse the aluminum panel range at juchangalu.com, or send your drawings for a detailed quotation tailored to your panel sizes, finishes, and fixing system.